Service Manager
Making Layouts Available to Users
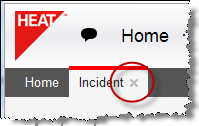
Layouts (the workspace buttons that appear at the top of a page) are available to users according to their logged-in role.
1.From the Configuration Console, click Configure > Users and Permissions > Roles and Permissions to open the Roles and Permissions workspace. The application displays a list of roles.
2.Click a role name from the list. The application displays the Role Details page.
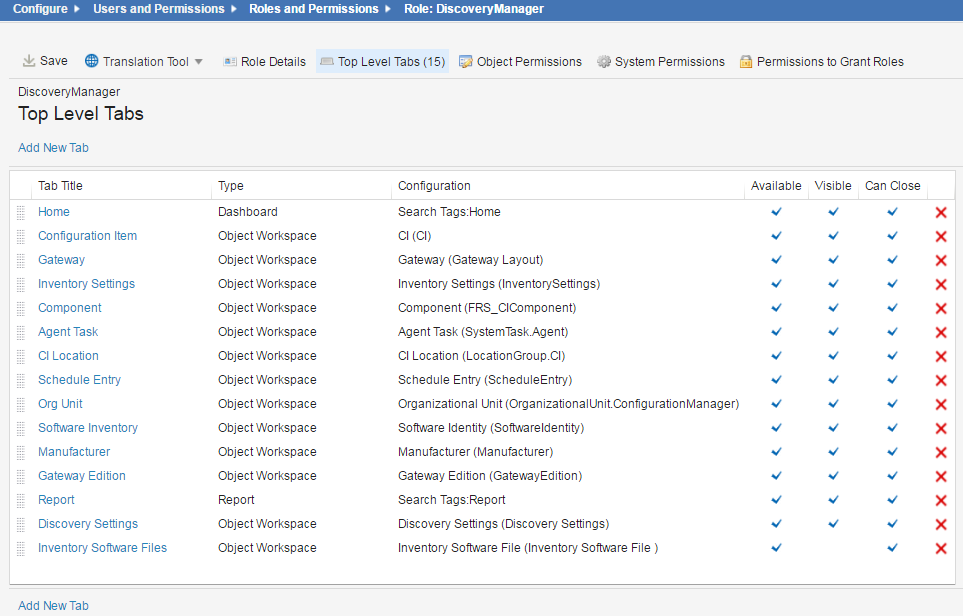
3.Click Top Level Tabs from the toolbar. The application displays the Top Level Tabs page, showing a list of the tabs that are currently available to that role.
Top-Level Tabs
| Column Title | Description |
|---|---|
|
Tab Title |
The display name of the workspace tab. |
|
Type |
Specifies how the workspace tab appears in the role interface. |
|
Configuration |
Specifies how the workspace is configured. |
|
Available |
Specifies if the workspace is available to the role. If there is a checkmark, this workspace is available to the role. If there is no checkmark, this workspace is not available to the role. If there is an expression icon, there is a hidden expression that determines if the workspace is available to the role. |
|
Visible |
Specifies if the workspace is initially visible to the role (top level). |
|
Can Close |
Specifies if the role user can close the workspace (has a close button). |
|
Delete |
Permanently removes this tab from the role.
NOTE: This does not delete the workspace from the application. |
4.Click Add New Tab. The application displays a list of workspace types.
5.Select a workspace type. The most commonly used type is Object Workspace. The application displays a new tab form.
6.Enter information into the fields.
| Field | Description |
|---|---|
|
Name |
A unique name for the tab. |
|
The Tab Is Available |
Makes the tab available to the role. |
|
The Tab Is Initially Visible |
Makes the tab initially visible on the top level when a user logs in. |
|
The Tab Can Be Closed By User |
Allows the user to close the tab. A Close button appears in the tab.
|
| Hidden Expression |
Specifies if the workspace is hidden. Click none to open the Expression Editor. Enter an expression such as $(GetGlobal("FeatureA")) and click Save. |
|
Object |
The object workspace for the tab. Choose from the drop-down list. |
|
Layout |
The layout associated with the workspace. Choose from the drop-down list. |
7.Click Add This Tab. The tab now appears on the list for the role.
8.Click Save.
Was this article useful?
Copyright © 2019, Ivanti. All rights reserved.